

Getting Started
This page takes you from an empty machine to a running DDBD with a user and a first record, in order. Do the steps one after another; each one uses the result of the one before.
How to read the commands on this page
- A line that starts with
$is a command: type what comes after the$, not the$itself. The copy button on each box copies the commands without the$. - A box without
$shows what the program answers. - In the User shell tabs, a line starting with
alice>is typed at the user shell's prompt, without thealice>. - Text in angle brackets is a placeholder: replace all of it, brackets included. For example,
Bearer <token>becomesBearer s_EDvbf4UJvGCBu66bSzggMr24ABXTEySZaLGpRwEukNZ. - The examples use
localhost, which works when you type them on the server itself. From another computer, use the server's address instead.
1. Install DDBD
DDBD runs on Linux and on macOS. Install it on the machine that will run the database.
Linux, on x86_64 or arm64 processors, with glibc 2.34 or newer: for example Ubuntu 22.04 or 24.04, Debian 12, RHEL 9 or Amazon Linux 2023.
$ curl -fsSL https://cdn.broadwayinc.com/get/ddbd/v1 | shThe installer downloads DDBD, checks the download, and puts the ddbd program in /usr/local/bin, so you can run it from any folder. Writing there needs administrator rights, so it may ask for your password once. Without sudo, it installs into ~/.local/bin instead and tells you how to add that folder to your PATH. The license files go next to it, in /usr/local/share/doc/ddbd.
macOS 11 or newer, on Apple Silicon or Intel, with Homebrew.
$ brew install broadwayinc/ddbd/ddbdHomebrew downloads DDBD, checks the download, and puts ddbd with its other programs (/opt/homebrew/bin on Apple Silicon, /usr/local/bin on Intel), which are already on your PATH. It also sets up a data folder of its own, for running DDBD in the background (Running as a service). That one uses the same port, 7070, so leave it stopped while you follow this page.
Check that it worked:
$ ddbd versionddbd x.x.xRunning the same install command again later updates DDBD to the newest version; with Homebrew, brew upgrade ddbd does. Installing a specific version, into another folder, or by hand without the script is described in Installing, upgrading and removing.
2. Create a data folder
A data folder holds one database: its records, users, settings and certificate. Create it once:
$ ddbd init --data ~/ddbd-dataCreated data folder /home/ubuntu/ddbd-data (owner: ubuntu, mode 0700)
Saved settings to /home/ubuntu/ddbd-data/ddbd.toml
TLS is off: DDBD speaks plain HTTP, so passwords and data travel unencrypted.
Run it behind HTTPS (a load balancer or proxy that serves HTTPS), or set it up with --tls.
Next: ddbd start --data /home/ubuntu/ddbd-data
Then add a user: ddbd admin --data /home/ubuntu/ddbd-data user add <name> --level 00init creates the folder if it does not exist, including any missing parent folders, and makes it readable only by you. Pick any folder you can write to. If the folder is already set up, init changes nothing and says so:
/home/ubuntu/ddbd-data is already set up. Start it with: ddbd start --data /home/ubuntu/ddbd-dataThe options of init:
| option | if you leave it out | what it sets |
|---|---|---|
--data <folder> | ./ddbd-data in the current folder | where the database lives. Every later command takes the same --data |
--port <port> | 7070 | the port the server listens on |
--bind <address> | 0.0.0.0 | which network address it listens on: 0.0.0.0 is every address, 127.0.0.1 is this machine only |
--tls | plain HTTP | DDBD serves HTTPS itself, with a self-signed certificate made now (see below) |
HTTPS
Run DDBD behind HTTPS
By default DDBD speaks plain HTTP: passwords, tokens and records travel unencrypted, and anyone on the network path can read them. Plain HTTP is fine for trying DDBD on your own machine at localhost. Anywhere else, use HTTPS in one of the two ways below.
- A load balancer or proxy serves HTTPS (the usual setup). It holds the certificate for your domain and forwards requests to DDBD as plain HTTP. Keep the default, without
--tls, and let only the load balancer reach DDBD's port. - DDBD serves HTTPS itself. Add
--tlswhen you create the folder:
$ ddbd init --data ~/ddbd-data --tls--tls makes a self-signed certificate. Browsers warn about it, and curl needs -k, until you replace it with a certificate from a certificate authority (Settings page, tls_cert and tls_key).
With TLS off, https:// requests to the port fail; with TLS on, plain http:// requests are refused. TLS can be turned on or off later on the Settings page of the web admin. The rest of this page uses the default, plain HTTP on localhost.
3. Start the server
$ ddbd start --data ~/ddbd-dataDDBD 0.2.0 (schemaless, lexicographic, single binary)
data /home/ubuntu/ddbd-data
network 0.0.0.0:7070 (plain HTTP)
admin /home/ubuntu/ddbd-data/admin.sock (only OS user ubuntu)
limits indexes per record: unlimited · tags per record: unlimited · notifications kept 1d · private keys last 1h
users 0 · records 0 · collections 0
19:49:12 Ready. DDBD 0.2.0 on 0.0.0.0:7070 (plain HTTP)The server runs in this terminal and prints a line for every request. Leave it running and open a second terminal for the next steps. To stop it, press Ctrl-C here, or run ddbd stop --data ~/ddbd-data from another terminal.
4. Open the web admin
The web admin is a page served by DDBD itself, for you as the administrator. Turn it on by giving it a password, in the second terminal:
$ ddbd admin --data ~/ddbd-data web-passwordNew web admin password (shown as you type, at least 8 characters): demo-admin-pass
Web admin is on. Open the server address in a browser and sign in with this password. Existing web admin sessions were signed out.Only the operating system user who runs DDBD can set this password; nobody can set or change it over the network.
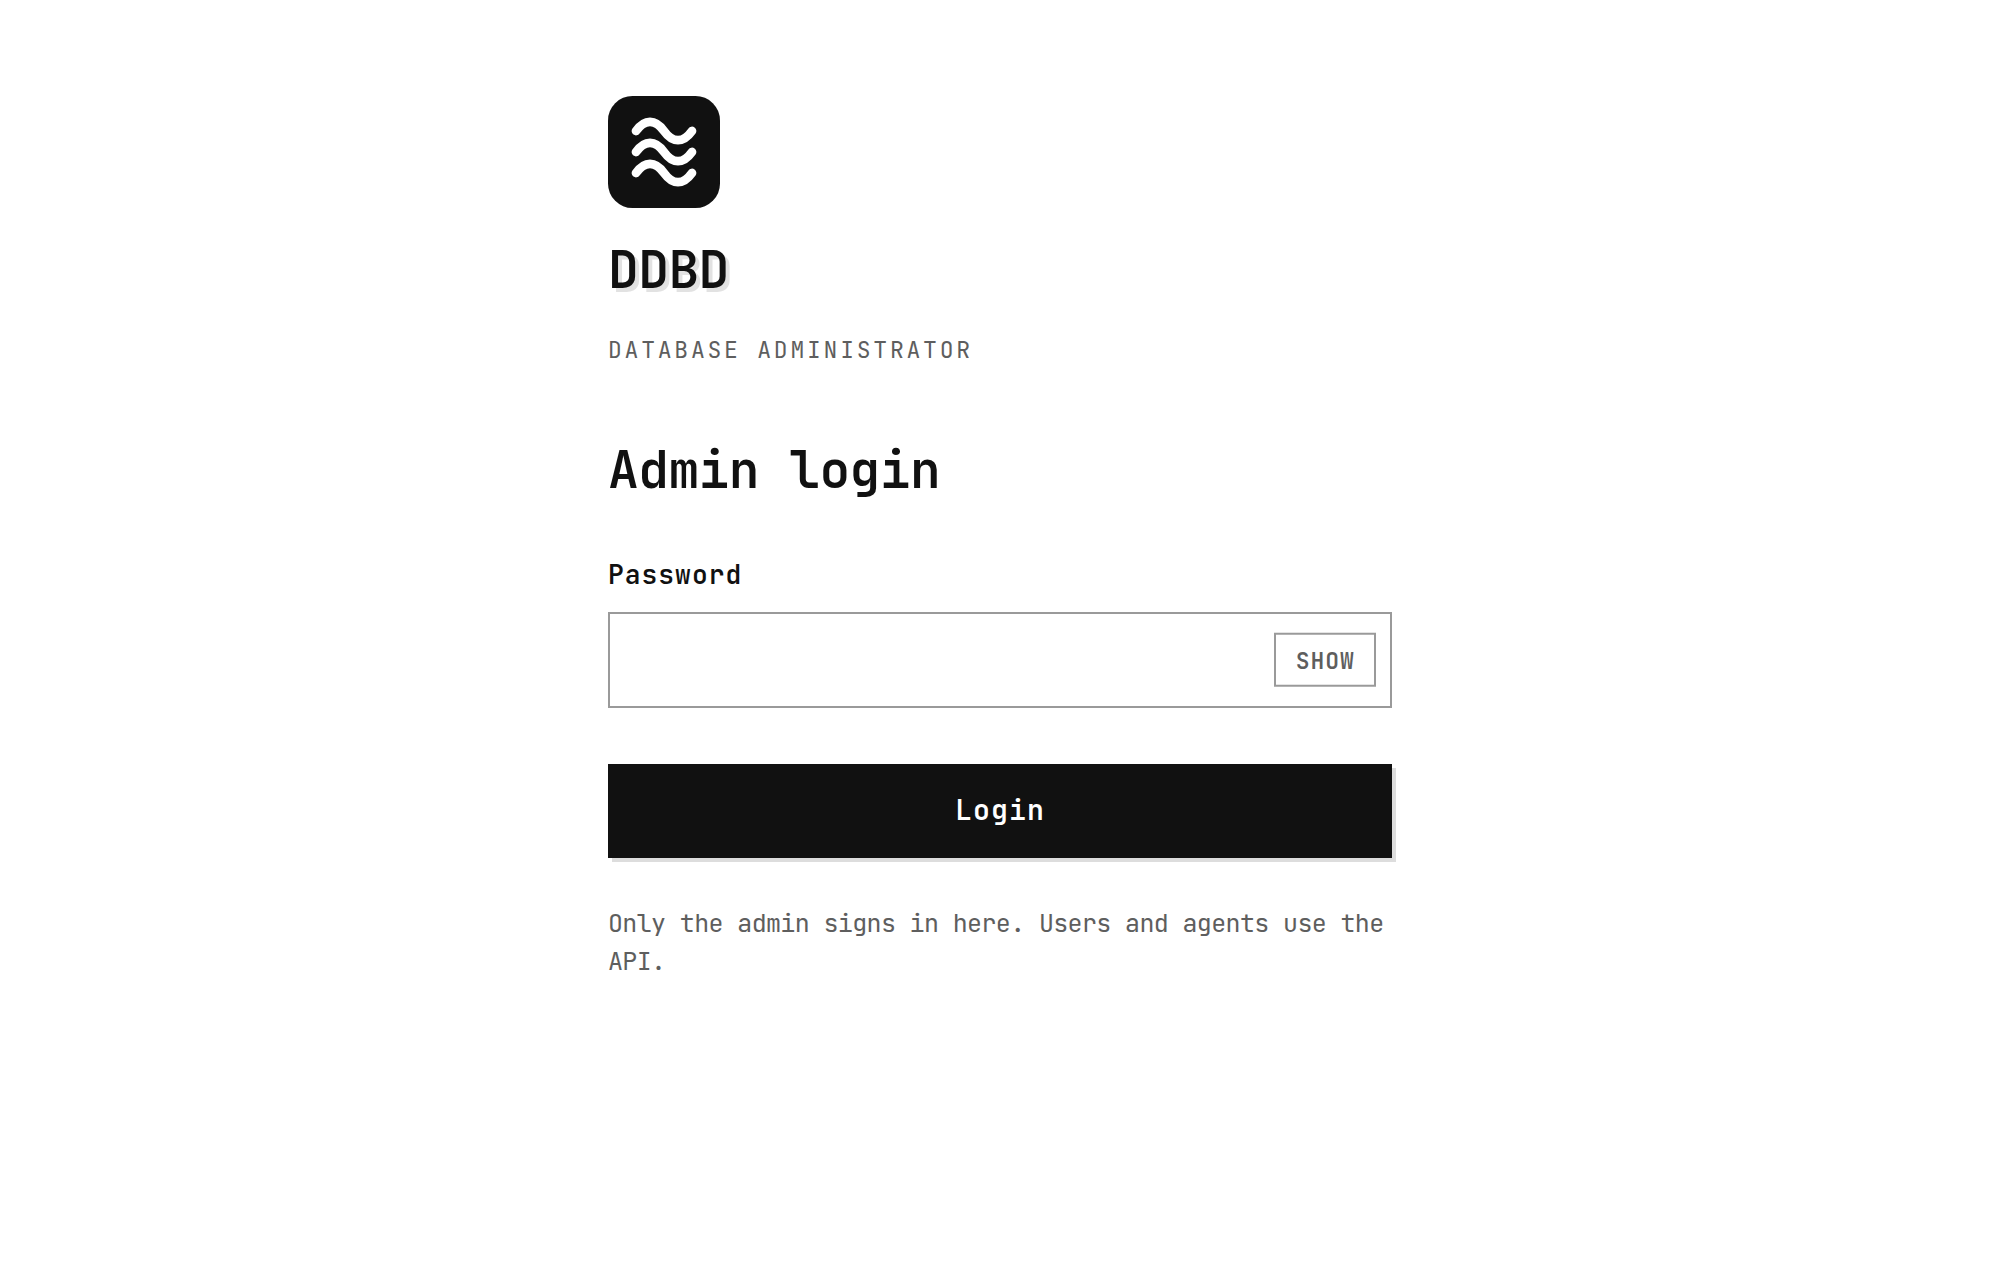
Open http://localhost:7070/ in a browser on the server itself. From another computer, open the HTTPS address that leads to it, for example your load balancer's https://<server address>/. (With --tls, the address is https://<server address>:7070/, and the browser first warns about the self-signed certificate: choose Advanced, then Proceed.) Sign in with the password you just set:
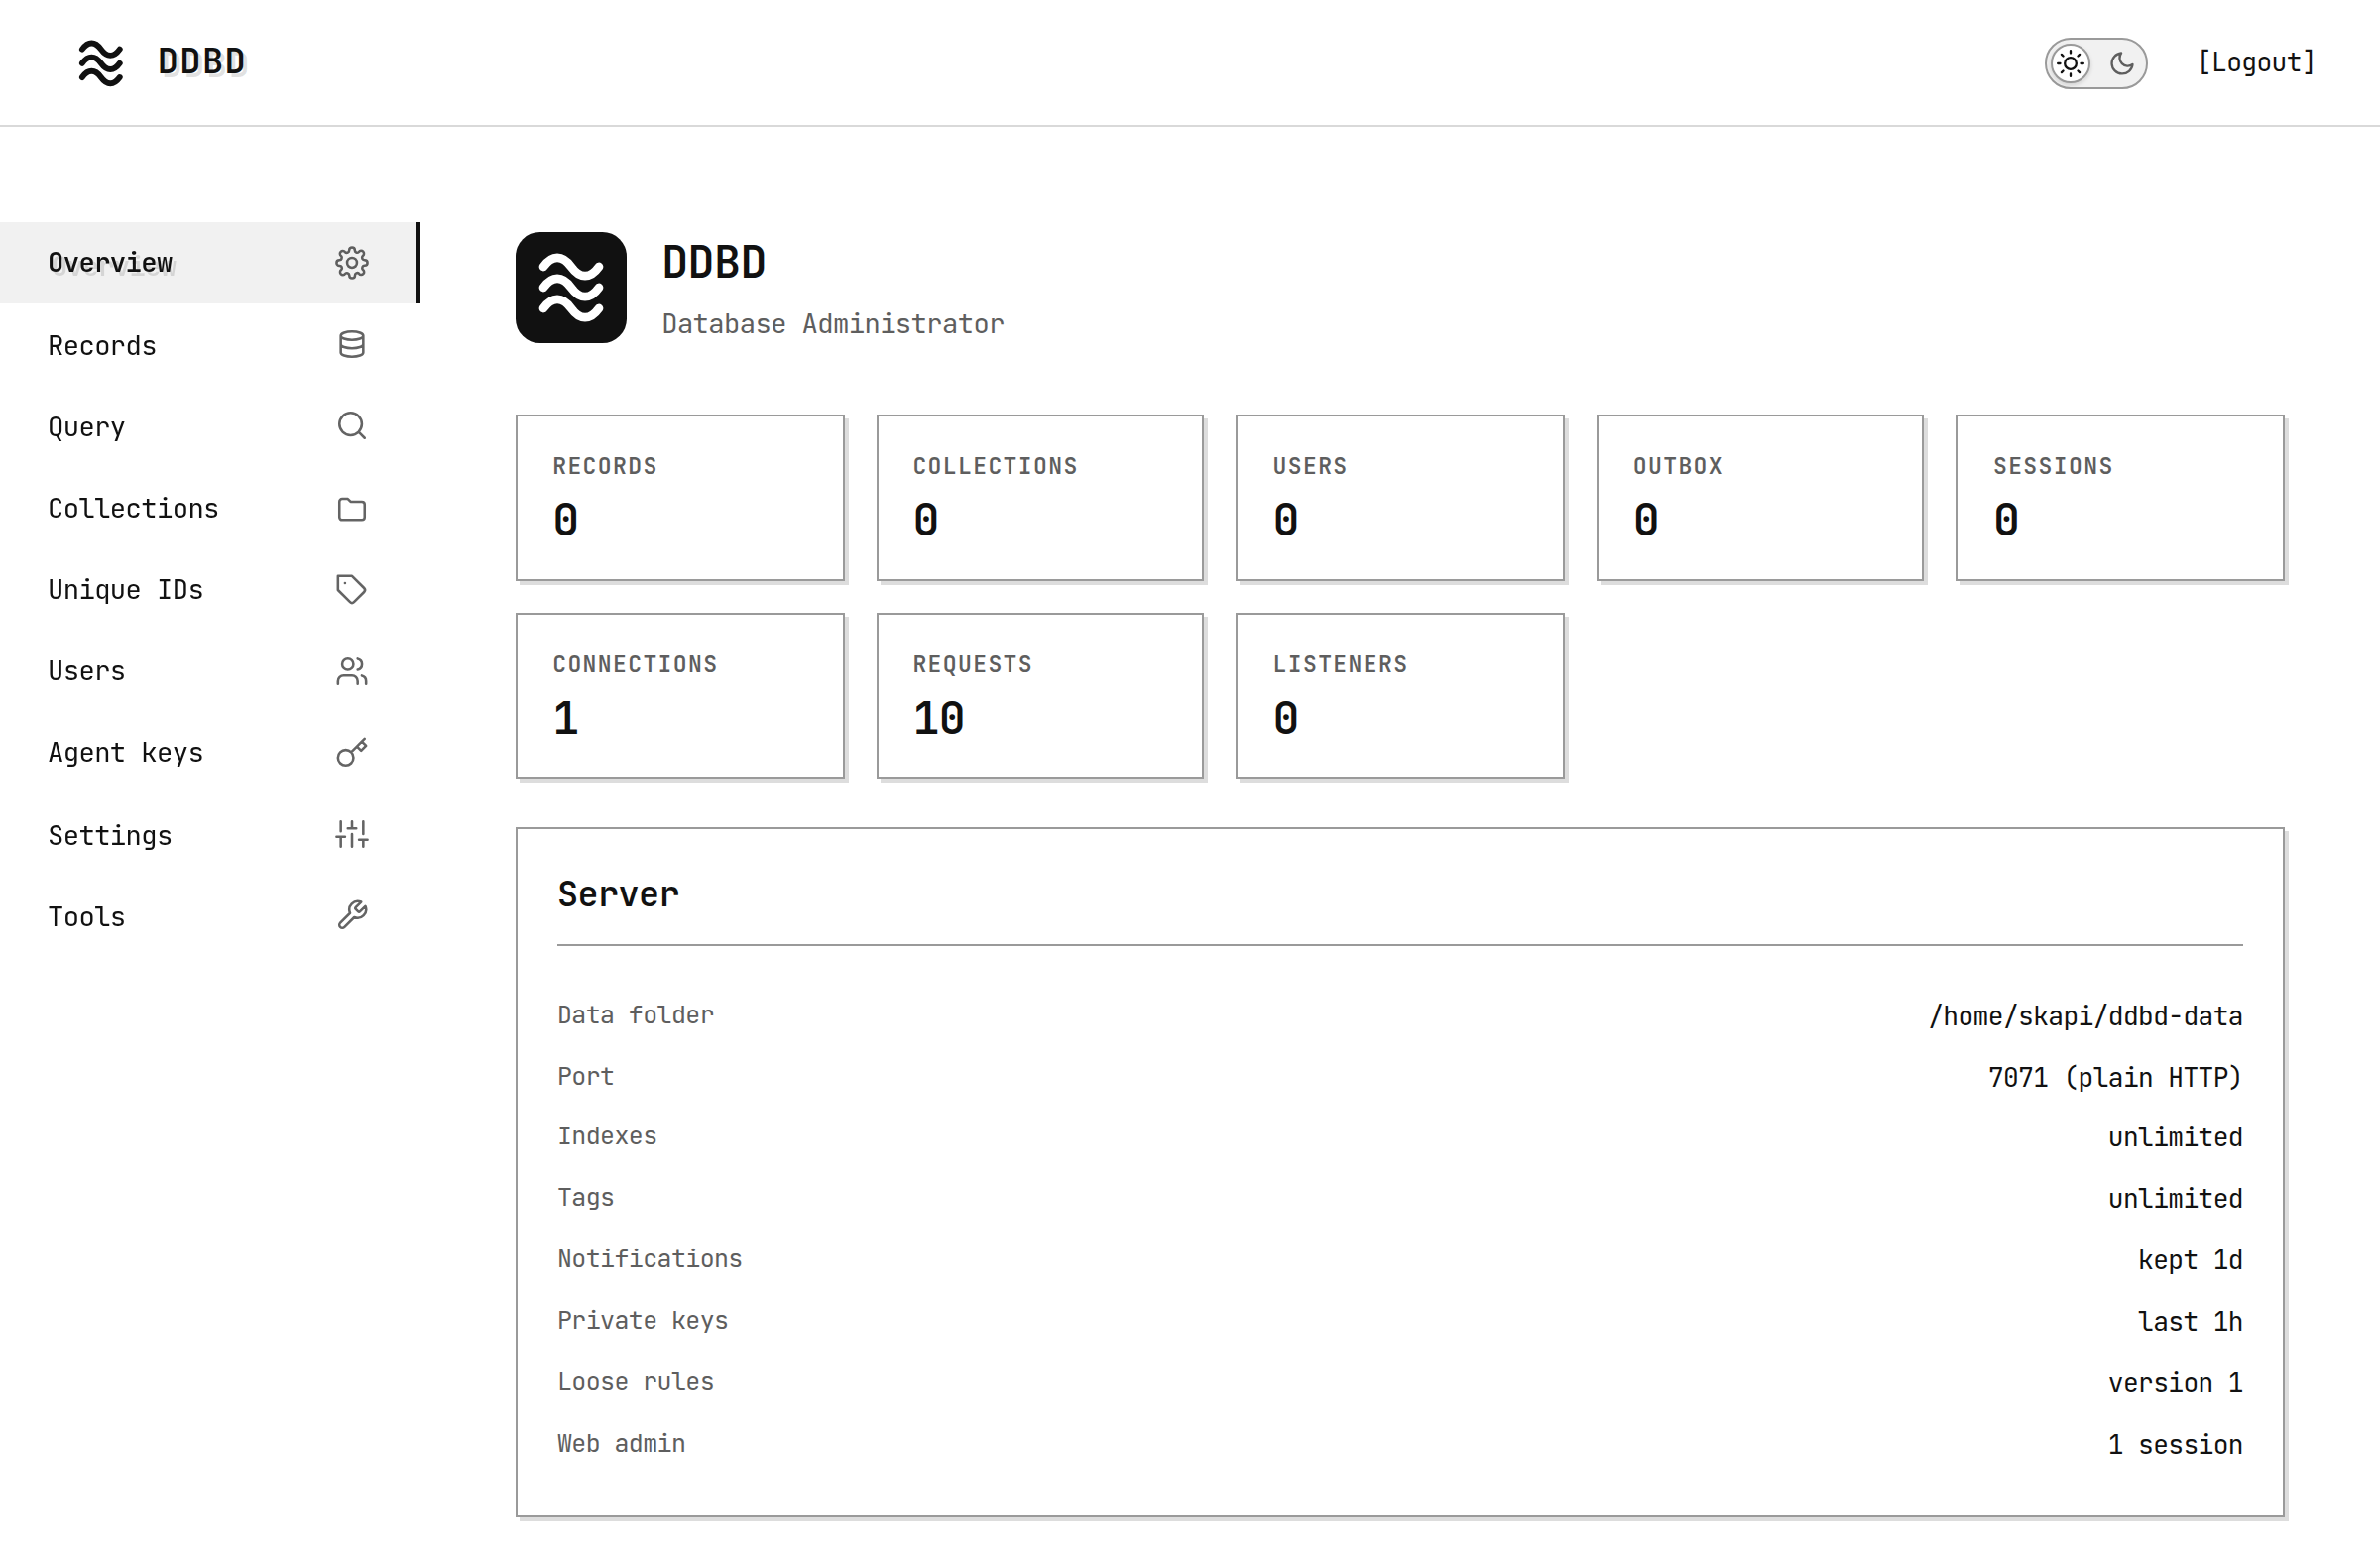
After signing in you see the Overview: how many records, collections and users the database holds, and how the server is set up. Everything is still empty.
5. Add a user
Before anything can be saved or read, the database needs a user. The web admin password only opens this admin page; apps, scripts and AI agents read and write records as users, through the API. There is no sign-up: you, the admin, add each user.
Open Users in the menu and click + Add User. Enter a username and a password, and choose a level:
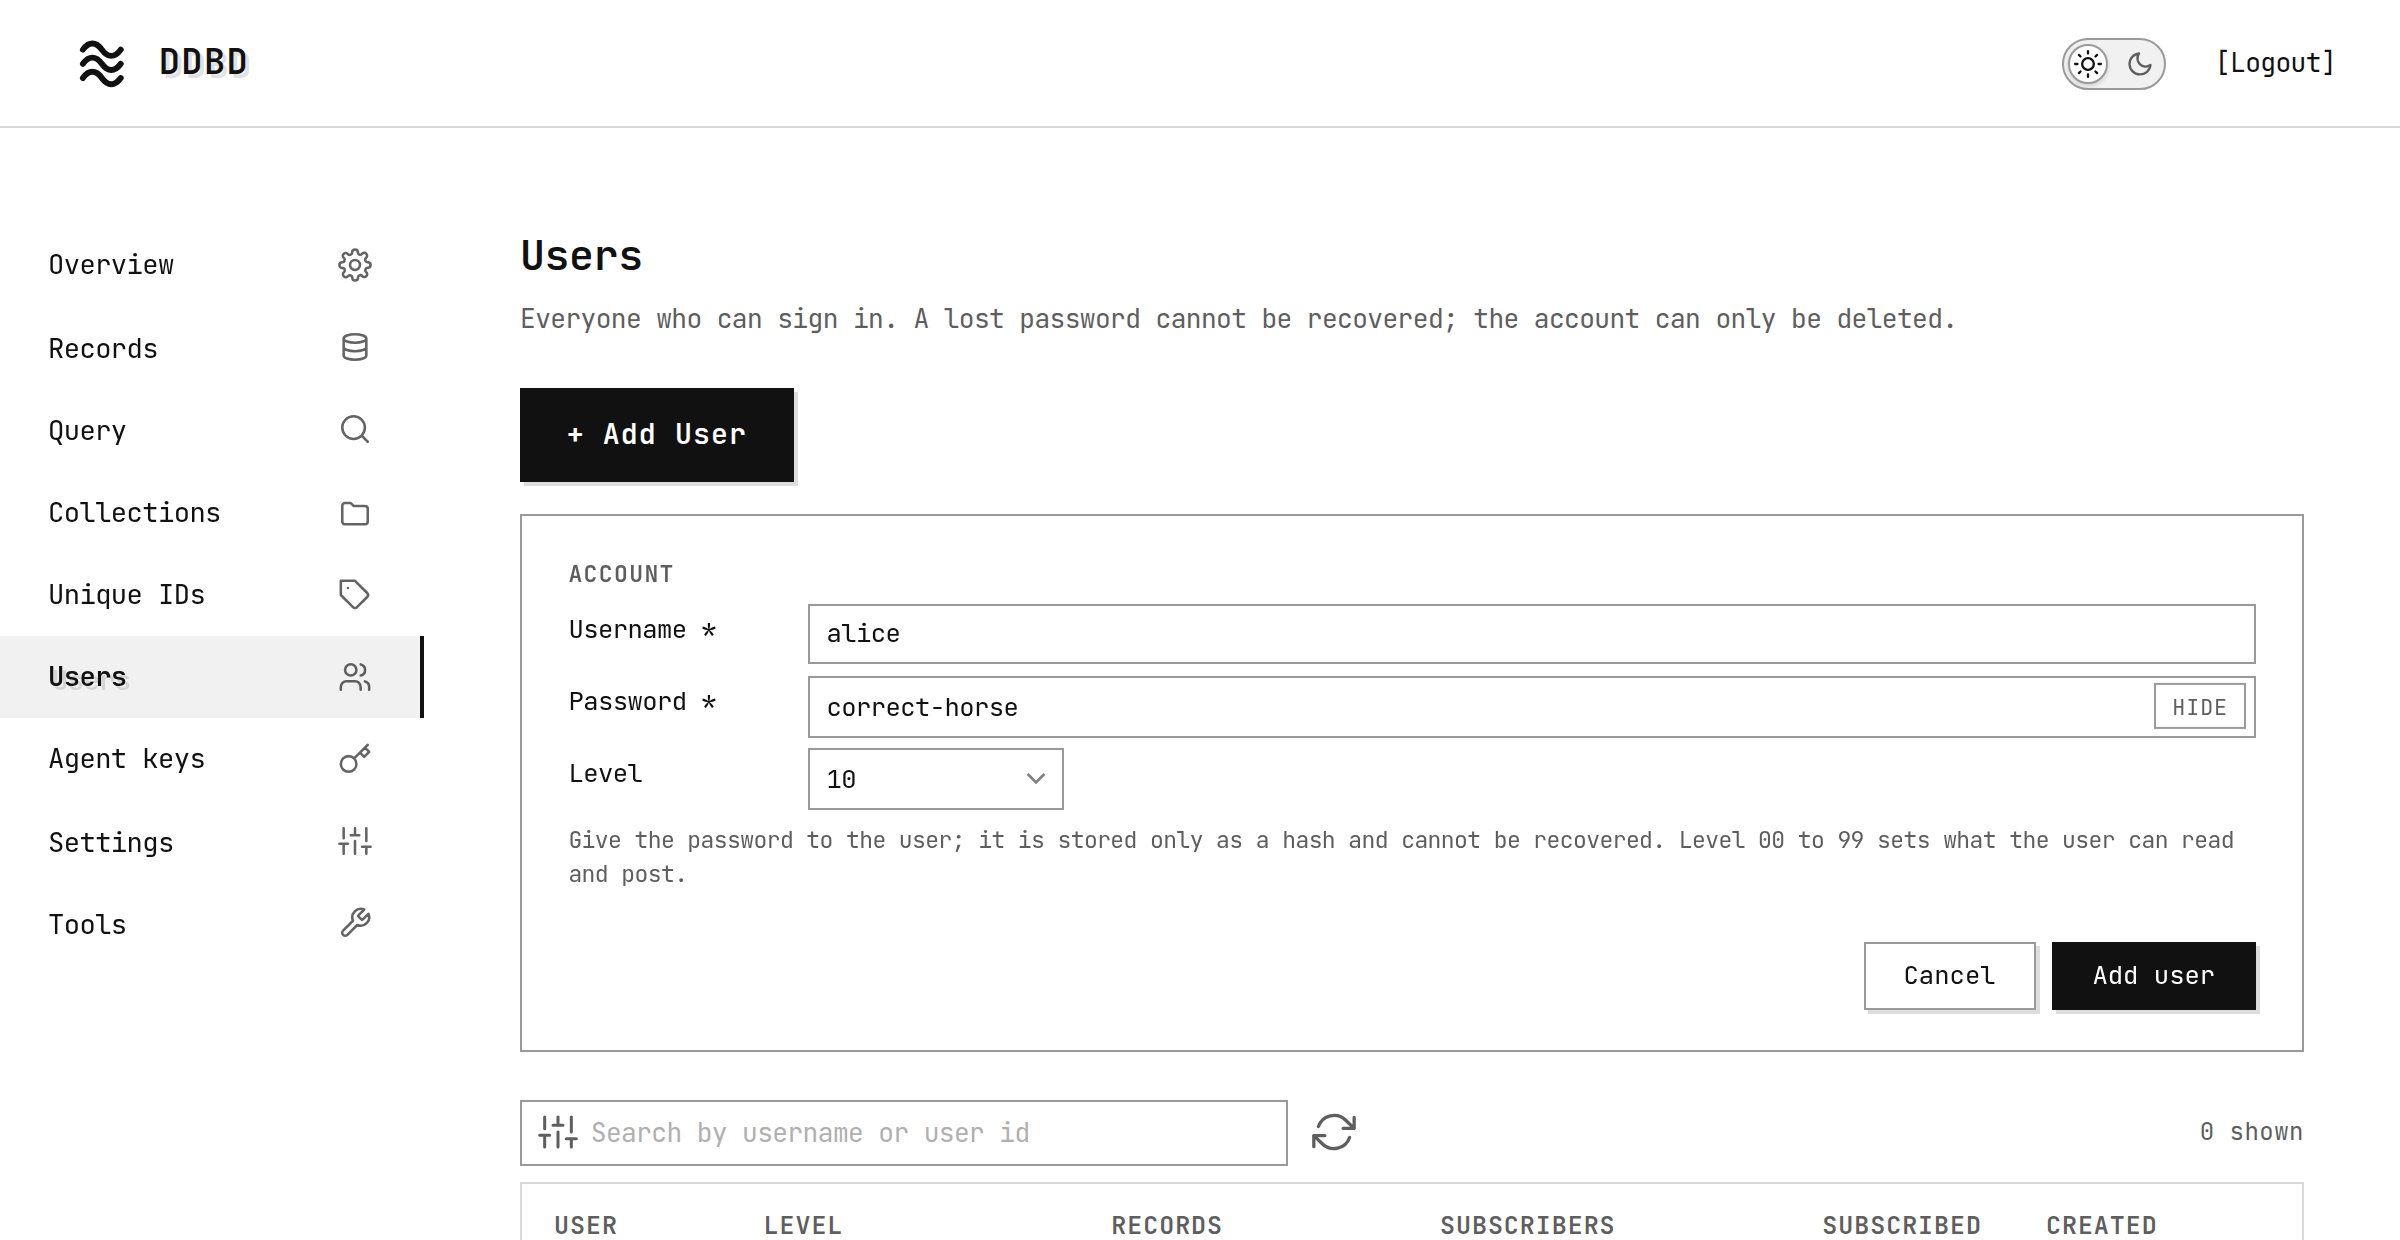
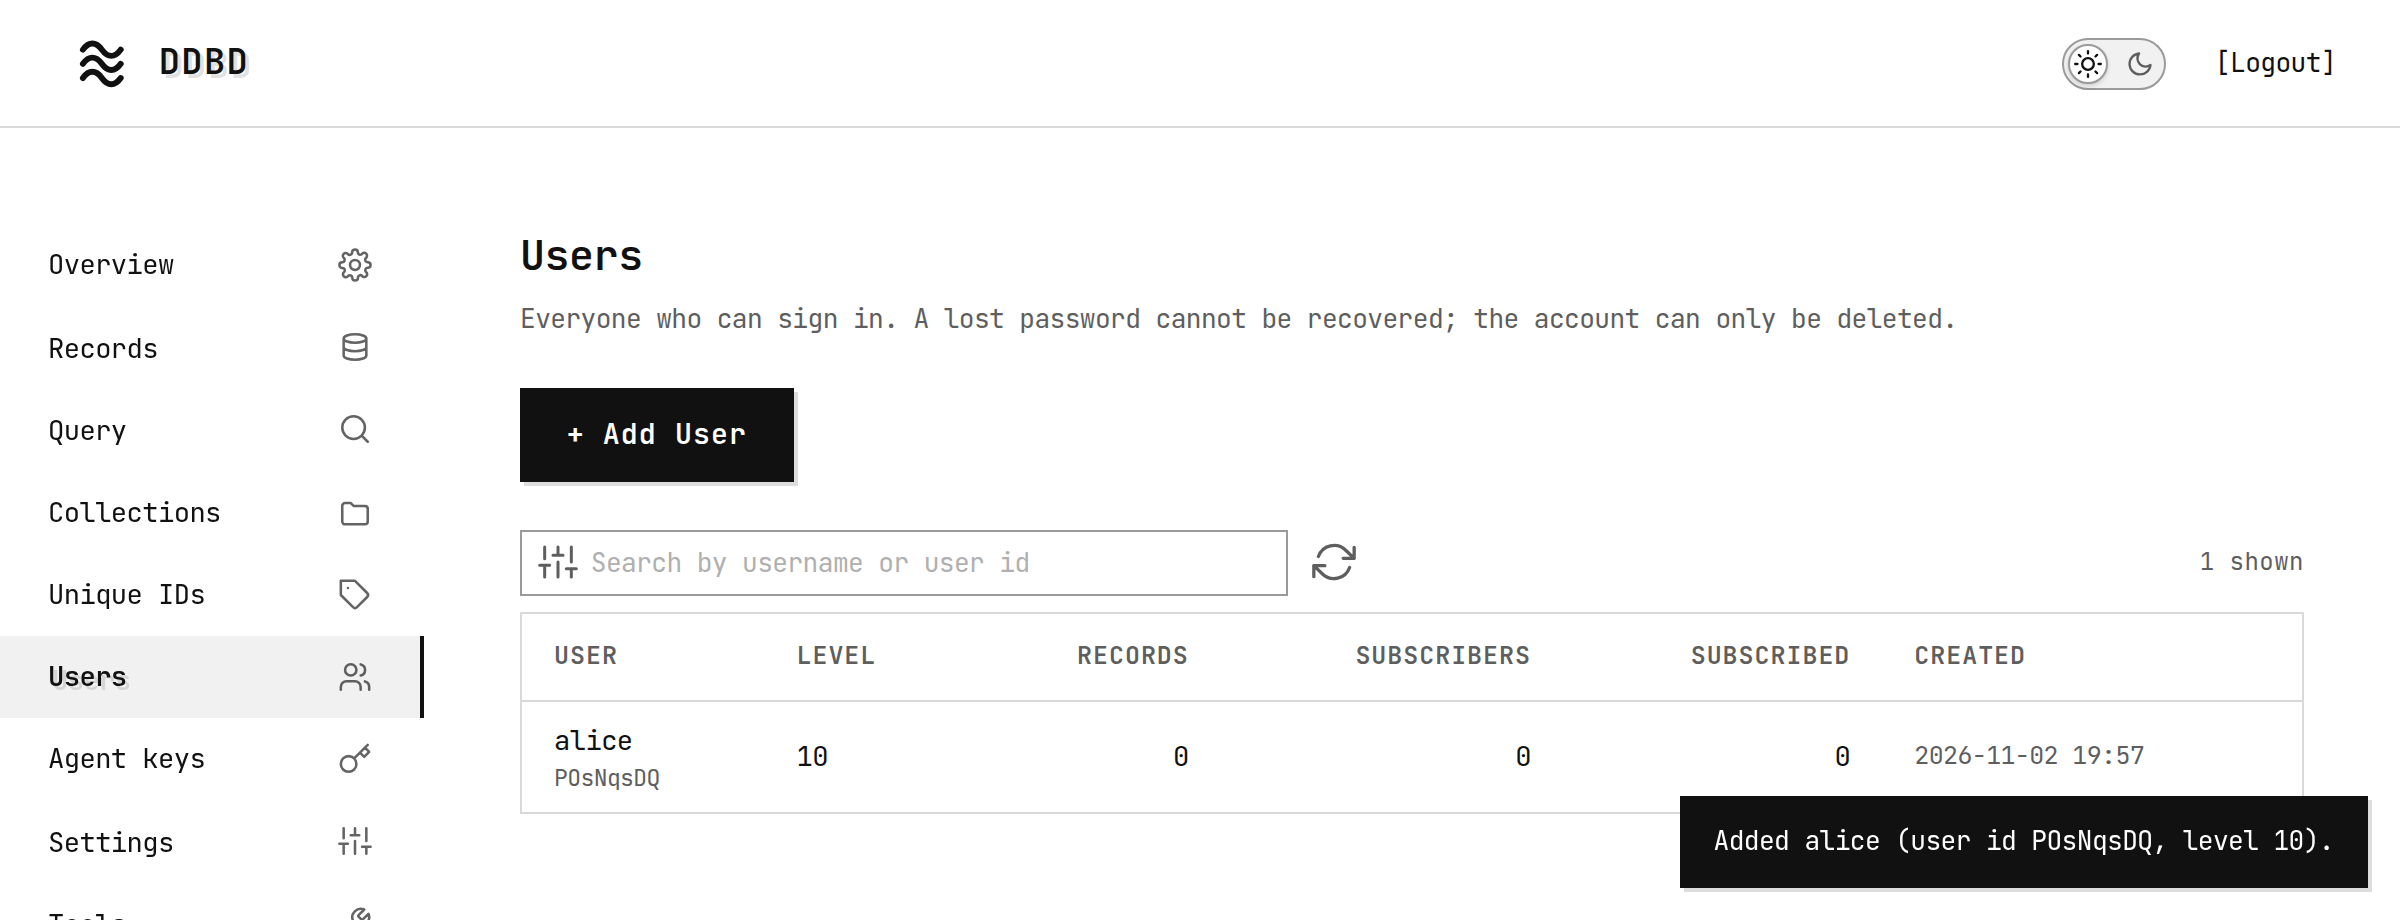
The level, 00 to 99, decides what the user can read: records saved at that level or below. Give alice 10. Click Add user, and she appears in the list:
6. Sign in as the user
Everything a user does goes to http://localhost:7070/v1/ followed by the name of an action. Signing in is the action login. Run it with curl in the second terminal, or with JavaScript or Python:
$ curl http://localhost:7070/v1/login \
    -H "Content-Type: application/json" \
-d '{"username": "alice", "password": "correct-horse"}'const res = await fetch("http://localhost:7070/v1/login", {
method: "POST",
headers: { "Content-Type": "application/json" },
body: JSON.stringify({ username: "alice", password: "correct-horse" }),
});
console.log(await res.json());import json, urllib.request
req = urllib.request.Request(
"http://localhost:7070/v1/login",
data=json.dumps({"username": "alice", "password": "correct-horse"}).encode(),
headers={"Content-Type": "application/json"},
)
print(json.load(urllib.request.urlopen(req)))$ ddbd connect localhost:7070 --user alice
Password: correct-horse
Signed in as alice (level 10).The User shell tab signs in to the user shell, a terminal client built into ddbd: it asks for the password (shown as you type), then waits at the alice> prompt. Keep it open; in the next steps you type the shell's commands at that prompt, and it sends the token for you. See User shell for every command.
To run the JavaScript tab, save it as a file ending in .mjs (for example login.mjs) and run node login.mjs; it needs Node.js 18 or newer. To run the Python tab, save it as login.py and run python3 login.py. Neither needs anything installed beyond Node.js or Python.
If you set the server up with --tls, write https:// instead of http://. curl then needs -k after curl to accept the self-signed certificate; without it, curl stops with curl: (60) SSL certificate problem: self-signed certificate. JavaScript and Python refuse the self-signed certificate too, until they are told to trust it; see Trusting the certificate. With a certificate from a certificate authority, none of this is needed.
The answer:
{
  "token": "s_EDvbf4UJvGCBu66bSzggMr24ABXTEySZaLGpRwEukNZ",
  "user": {
    "access_level": "10",
    "created": 1793387705596,
    "records": 0,
    "subscribed": 0,
    "subscribers": 0,
    "user_id": "POsNqsDQ",
    "username": "alice"
  }
}
The token is alice's session. Every following request carries it in the line Authorization: Bearer <token>. In the examples below, replace <token> with your own token. With the token above, the curl line reads:
-H "Authorization: Bearer s_EDvbf4UJvGCBu66bSzggMr24ABXTEySZaLGpRwEukNZ"and the first line of the JavaScript and Python examples reads const token = "s_EDvbf4UJvGCBu66bSzggMr24ABXTEySZaLGpRwEukNZ"; and token = "s_EDvbf4UJvGCBu66bSzggMr24ABXTEySZaLGpRwEukNZ".
The session ends after 24 hours without use; then sign in again.
7. Save a record
Save a record as alice with the action postRecord:
$ curl http://localhost:7070/v1/postRecord \
    -H "Authorization: Bearer <token>" \
    -H "Content-Type: application/json" \
    -d '{
      "data": {"title": "Desk Lamp", "color": "red"},
      "config": {
        "collection": {"name": "products", "access_level": "05"},
        "index": [{"name": "price", "value": 1200}, {"name": "title", "value": "Desk Lamp"}],
        "tags": ["sale", "lighting"]
      }
}'const token = "<token>";
const res = await fetch("http://localhost:7070/v1/postRecord", {
method: "POST",
headers: { Authorization: `Bearer ${token}`, "Content-Type": "application/json" },
body: JSON.stringify({
data: { title: "Desk Lamp", color: "red" },
config: {
collection: { name: "products", access_level: "05" },
index: [{ name: "price", value: 1200 }, { name: "title", value: "Desk Lamp" }],
tags: ["sale", "lighting"],
},
}),
});
console.log(await res.json());import json, urllib.request
token = "<token>"
req = urllib.request.Request(
"http://localhost:7070/v1/postRecord",
data=json.dumps({
"data": {"title": "Desk Lamp", "color": "red"},
"config": {
"collection": {"name": "products", "access_level": "05"},
"index": [{"name": "price", "value": 1200}, {"name": "title", "value": "Desk Lamp"}],
"tags": ["sale", "lighting"],
},
}).encode(),
headers={"Authorization": f"Bearer {token}", "Content-Type": "application/json"},
)
print(json.load(urllib.request.urlopen(req)))alice> post products --level 05 --index price=1200 --index "title=Desk Lamp" --tags sale,lighting --data '{"title":"Desk Lamp","color":"red"}'
Saved record VZoQU2VISdszI4a9What the body says:
// postRecord body, as sent above
{
    data?: any;  // The record itself: any JSON.
    config: {    // Required.
        /** Required on create. The collection to save the record in, and its access level. */
        collection?: {
            name: string;          // Required. "products", which is created by this first record.
            access_level?: string; // "05": users at level "05" or above can read it.
        };
        index?: { name: string; value: string | number | boolean }[]; // Values the record can be searched by: price and title.
        tags?: string[];  // Labels the record can be found by.
    };
}
The answer is the saved record:
{
  "agent": null,
  "collection": {
    "access_level": "05",
    "name": "products",
    "subscription": {
      "feed_referencing_records": false,
      "is_subscription_record": false,
      "notify_referencing_records": false,
      "notify_subscribers": false,
      "upload_to_feed": false
    }
  },
  "data": {
    "color": "red",
    "title": "Desk Lamp"
  },
  "index": [
    {
      "name": "price",
      "value": 1200
    },
    {
      "name": "title",
      "value": "Desk Lamp"
    }
  ],
  "ip": "127.0.0.1",
  "readonly": false,
  "record_id": "VZoQU2VISdszI4a9",
  "reference": null,
  "referenced_count": 0,
  "source": {
    "allow_granted_to_grant_others": false,
    "can_remove_referencing_records": false,
    "only_granted_can_reference": false,
    "prevent_multiple_referencing": false,
    "referencing_index_restrictions": [],
    "referencing_limit": null
  },
  "tags": [
    "sale",
    "lighting"
  ],
  "unique_id": null,
  "updated": 1793387717579,
  "uploaded": 1793387717579,
  "user_id": "POsNqsDQ"
}
The new record's id is record_id: VZoQU2VISdszI4a9. Every option of the request is in Creating records.
8. See the record in the web admin
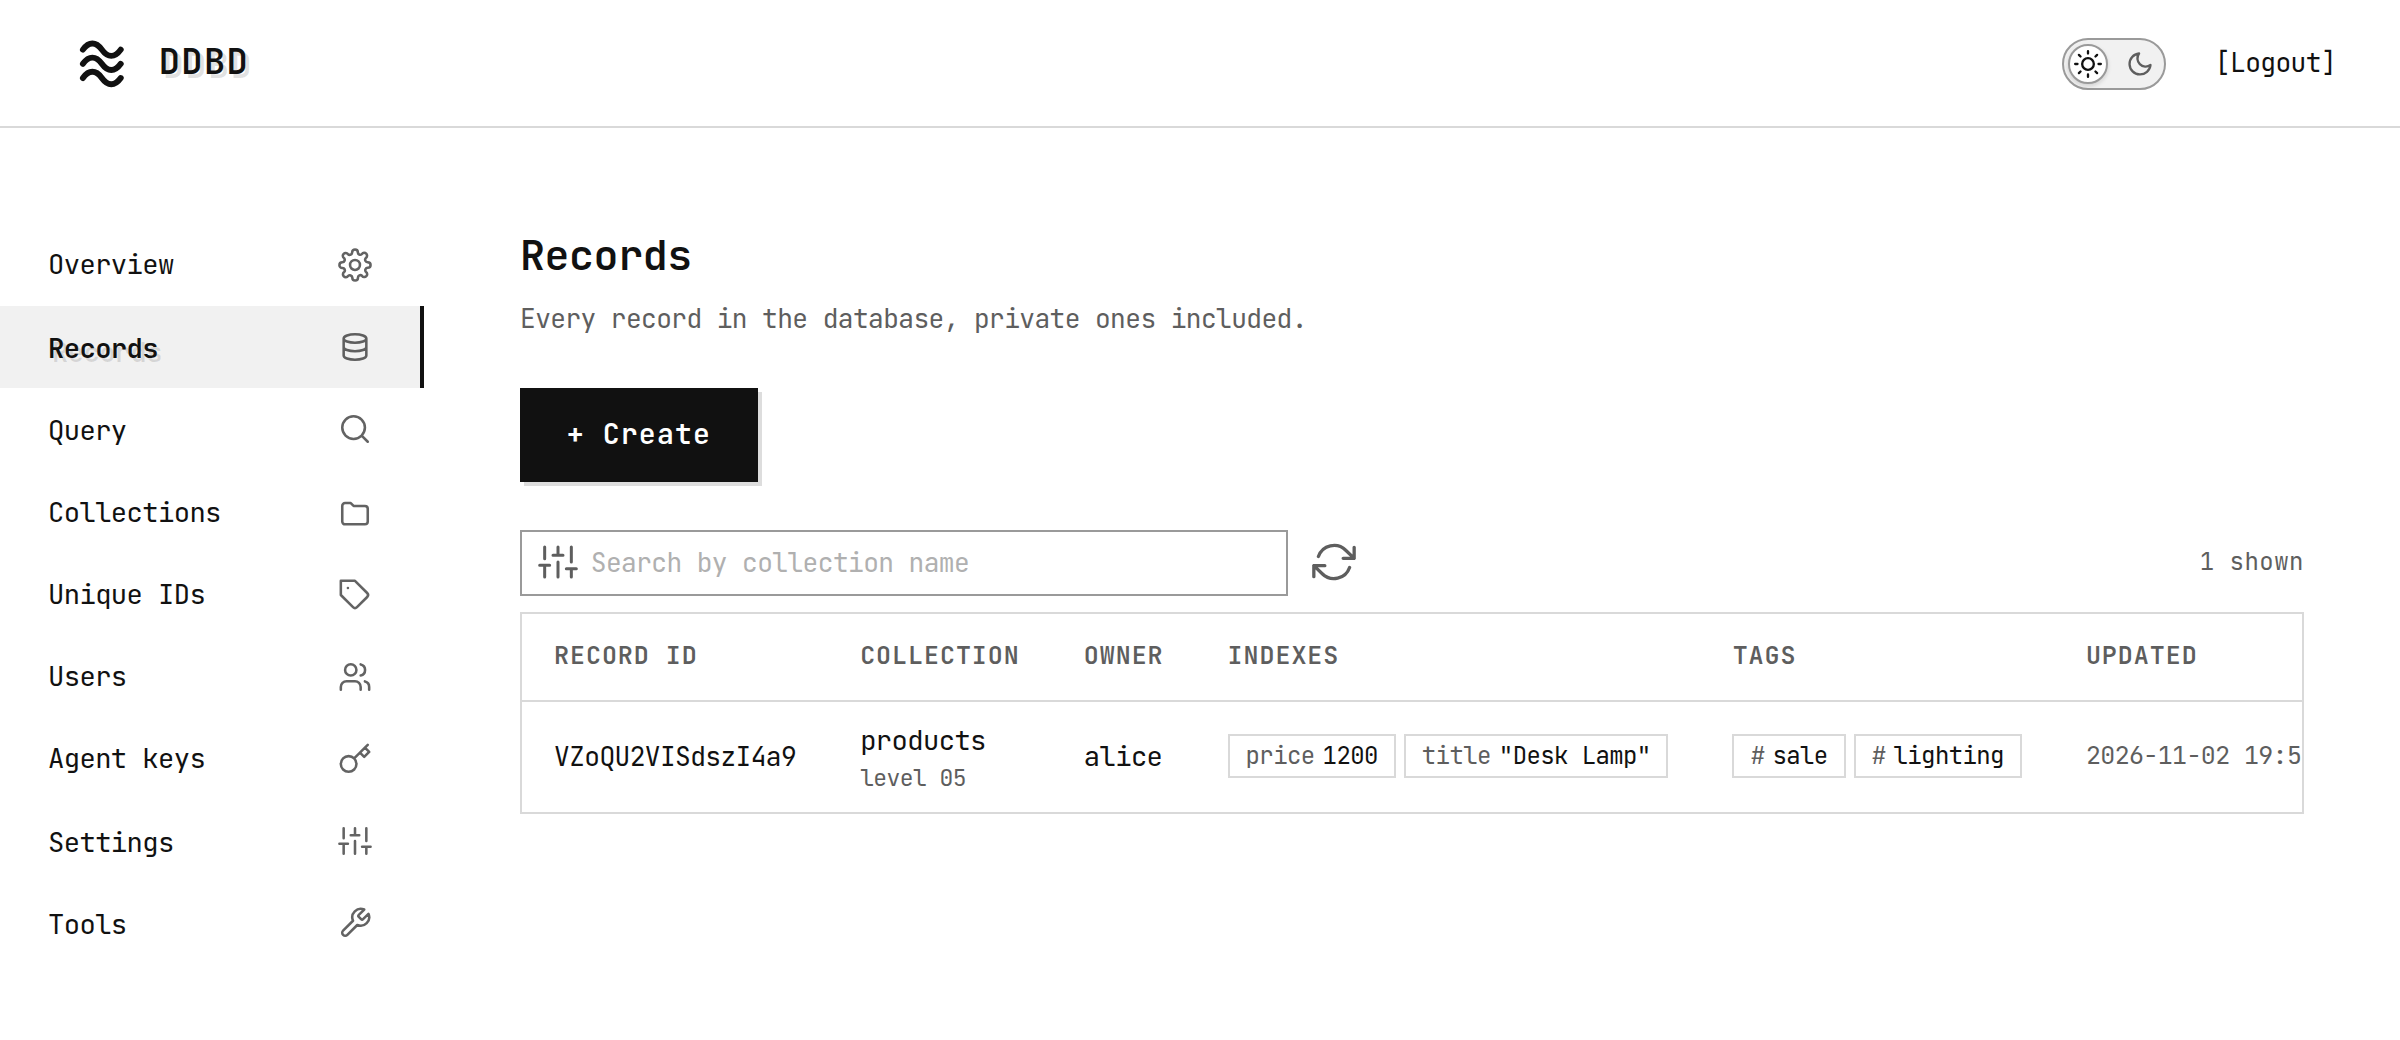
Back in the browser, open Records. The record alice saved is there:
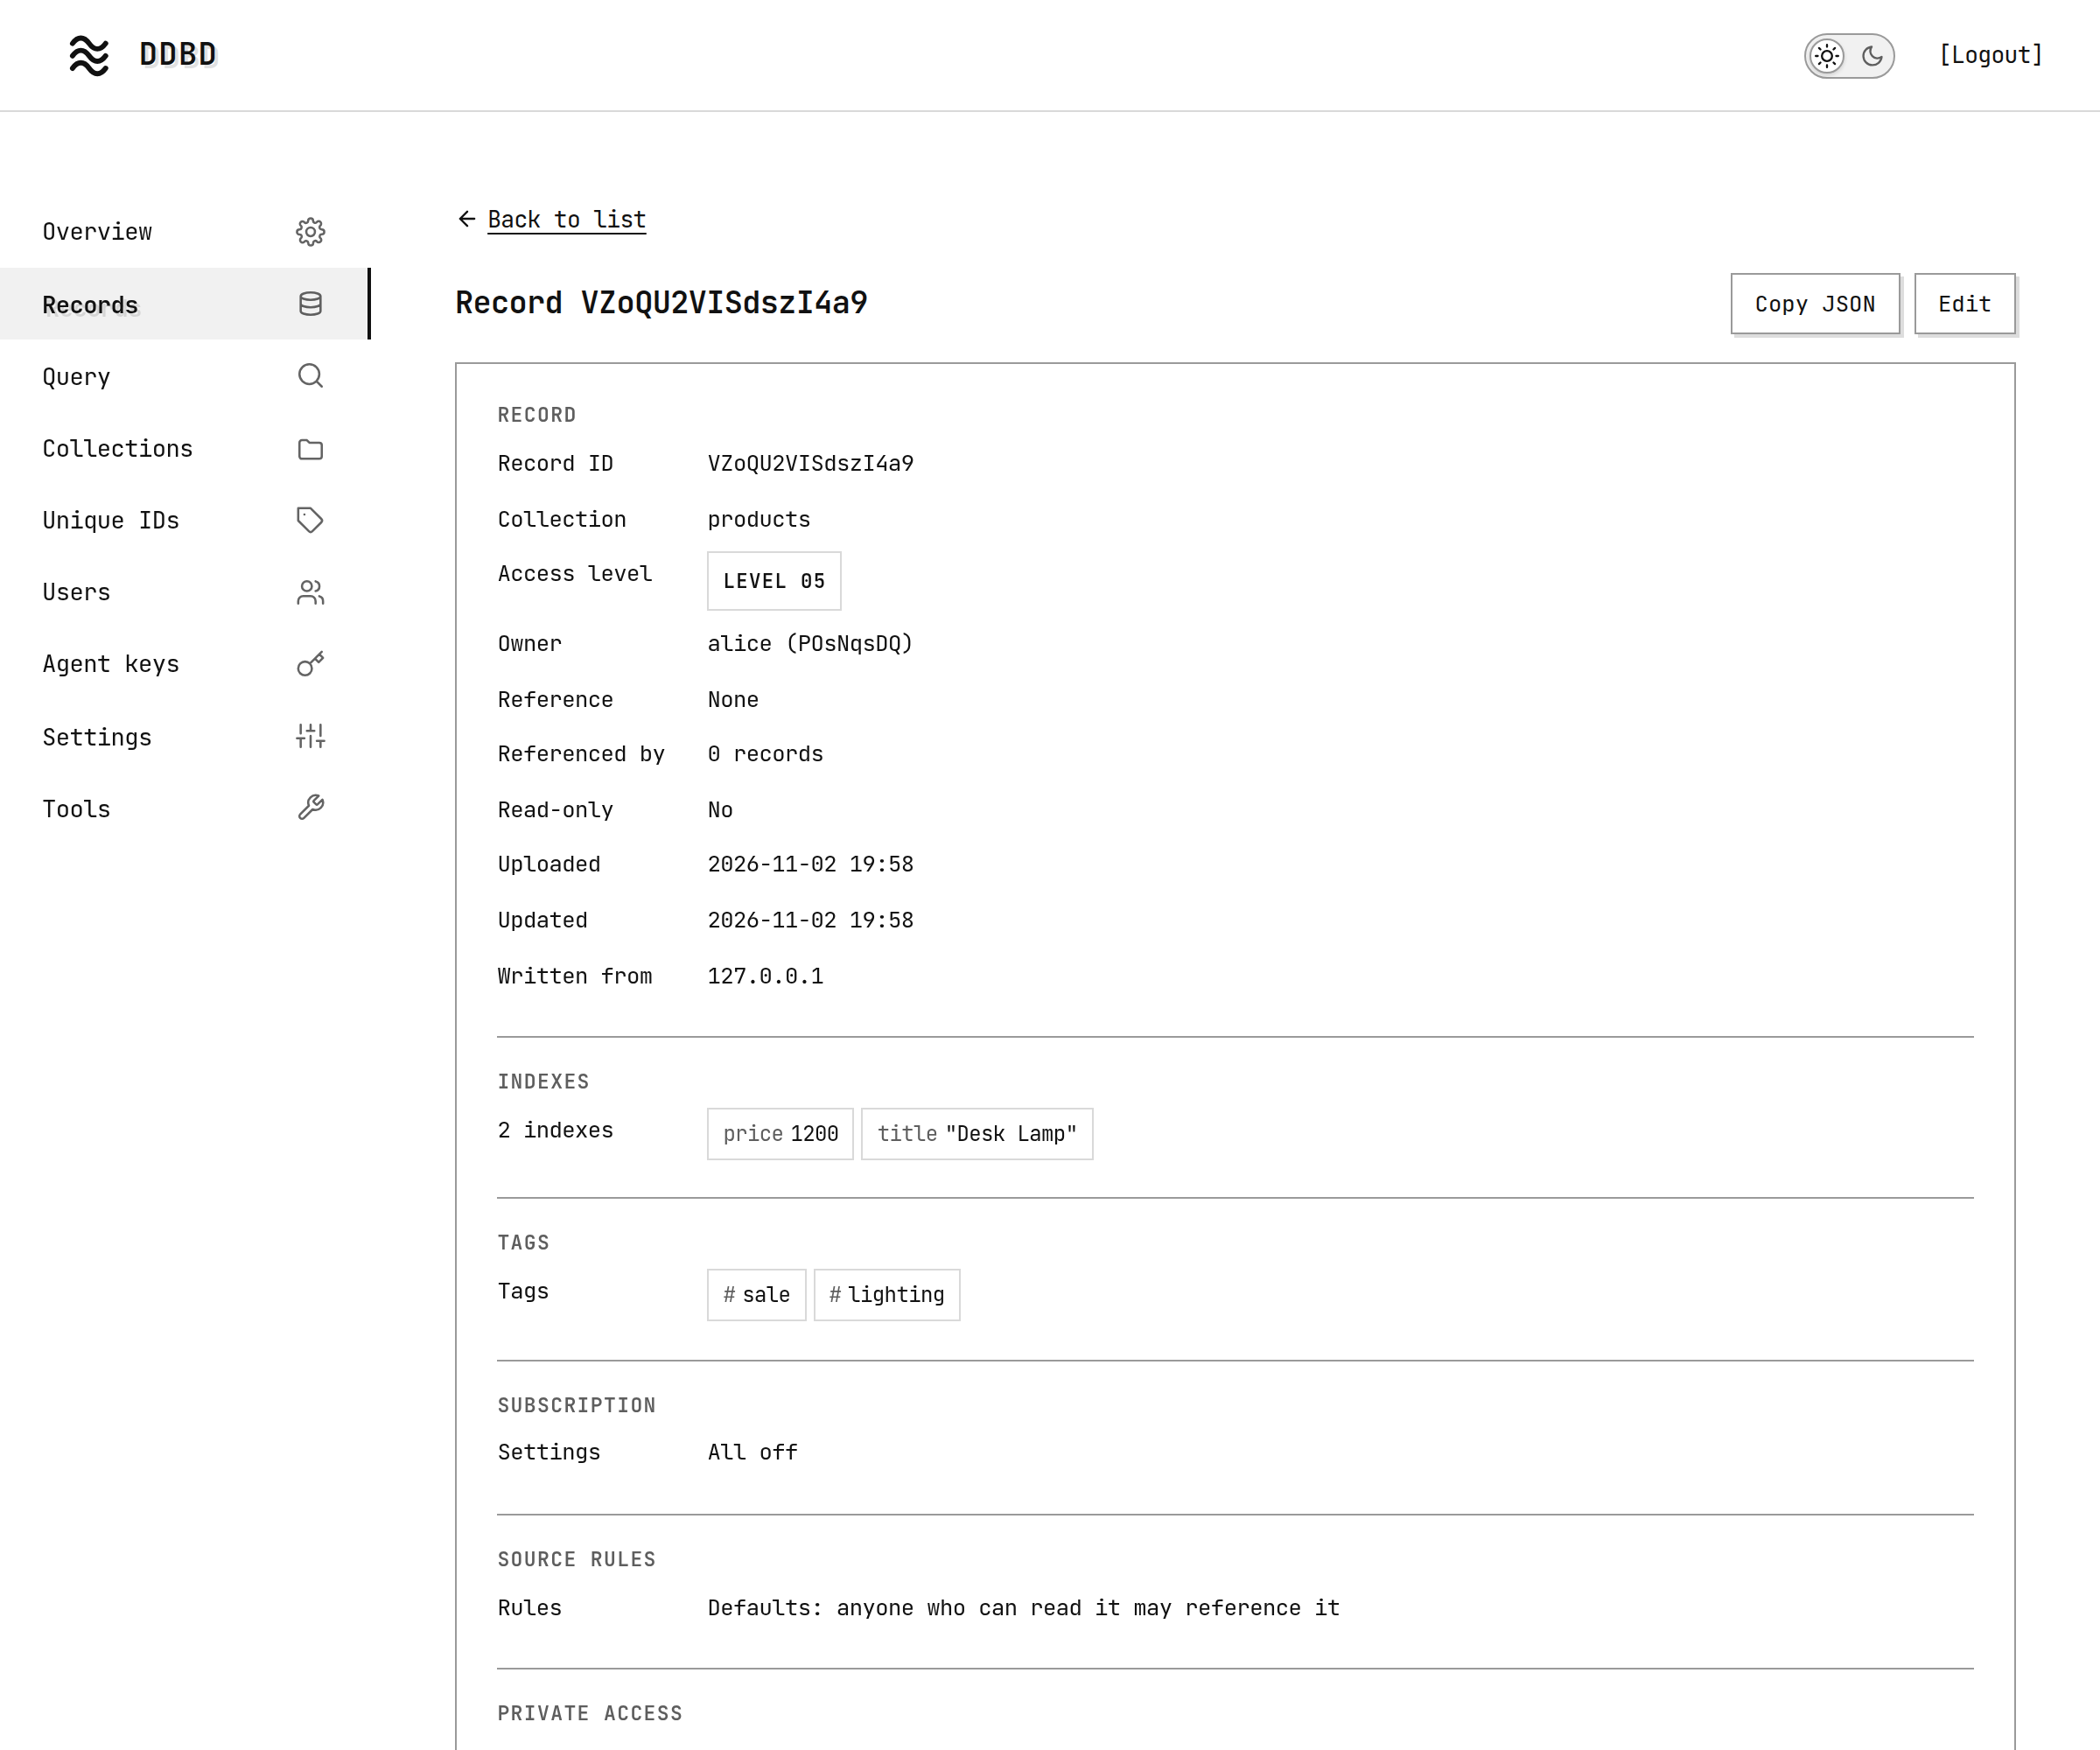
Click it to see everything about it:
9. Query records
Find records by an index with the action getRecords. This asks for products with a price of 1000 or more:
$ curl http://localhost:7070/v1/getRecords \
    -H "Authorization: Bearer <token>" \
    -H "Content-Type: application/json" \
-d '{"query": {"collection": "products", "index": {"name": "price", "value": 1000, "condition": ">="}}}'const token = "<token>";
const res = await fetch("http://localhost:7070/v1/getRecords", {
method: "POST",
headers: { Authorization: `Bearer ${token}`, "Content-Type": "application/json" },
body: JSON.stringify({ query: { collection: "products", index: { name: "price", value: 1000, condition: ">=" } } }),
});
console.log(await res.json());import json, urllib.request
token = "<token>"
req = urllib.request.Request(
"http://localhost:7070/v1/getRecords",
data=json.dumps({"query": {"collection": "products", "index": {"name": "price", "value": 1000, "condition": ">="}}}).encode(),
headers={"Authorization": f"Bearer {token}", "Content-Type": "application/json"},
)
print(json.load(urllib.request.urlopen(req)))alice> get products --index "price >= 1000"
VZoQU2VISdszI4a9 products/05 [price=1200 title="Desk Lamp"] tags:sale,lighting {"color":"red","title":"Desk Lamp"}The answer is a page of records. end_of_list: true means there are no more:
{
  "end_of_list": true,
  "list": [
    {
      "agent": null,
      "collection": {
        "access_level": "05",
        "name": "products",
        "subscription": {
          "feed_referencing_records": false,
          "is_subscription_record": false,
          "notify_referencing_records": false,
          "notify_subscribers": false,
          "upload_to_feed": false
        }
      },
      "data": {
        "color": "red",
        "title": "Desk Lamp"
      },
      "index": [
        {
          "name": "price",
          "value": 1200
        },
        {
          "name": "title",
          "value": "Desk Lamp"
        }
      ],
      "ip": "127.0.0.1",
      "readonly": false,
      "record_id": "VZoQU2VISdszI4a9",
      "reference": null,
      "referenced_count": 0,
      "source": {
        "allow_granted_to_grant_others": false,
        "can_remove_referencing_records": false,
        "only_granted_can_reference": false,
        "prevent_multiple_referencing": false,
        "referencing_index_restrictions": [],
        "referencing_limit": null
      },
      "tags": [
        "sale",
        "lighting"
      ],
      "unique_id": null,
      "updated": 1793387717579,
      "uploaded": 1793387717579,
      "user_id": "POsNqsDQ"
    }
  ],
  "start_key": "end"
}
A few other queries to try, as the -d body:
| body | finds |
|---|---|
{"query": {"collection": "products", "tag": "sale"}} | records tagged sale |
{"query": {"collection": "products", "index": {"name": "title", "value": "Desk", "condition": ">="}}} | titles that start with Desk |
{"query": {"collection": "products", "index": {"name": "title", "value": "desk lamp", "match": "loose"}}} | the same record, ignoring case and spacing |
{"query": {"record_id": "VZoQU2VISdszI4a9"}} | one record by its id |
10. Stop the server
When you are done, stop DDBD. In the terminal where it runs, press Ctrl-C. Or, from any other terminal:
$ ddbd stop --data ~/ddbd-dataStopping DDBD (pid 251722): it finishes the requests in progress first...
Stopped.Either way the server stops cleanly: it refuses new requests, finishes the ones in progress, and closes the database. Its own terminal shows:
Stopping: refusing new requests, finishing the ones in progress...
Stopped.
Everything you saved stays in ~/ddbd-data. To continue later, start it again with ddbd start --data ~/ddbd-data; alice, her record and the web admin password are all still there.